Remote Desktop access
Access a Campus PC via the Remote Desktop from a Windows PC or MacOS
To connect to your work machine on campus via Remote Desktop, you will need to make sure you have;
- Know the name of the computer that you wish to gain remote access to
- Connected to the VPN (Cisco Secure Client)
- You may also need the IP address of your computer
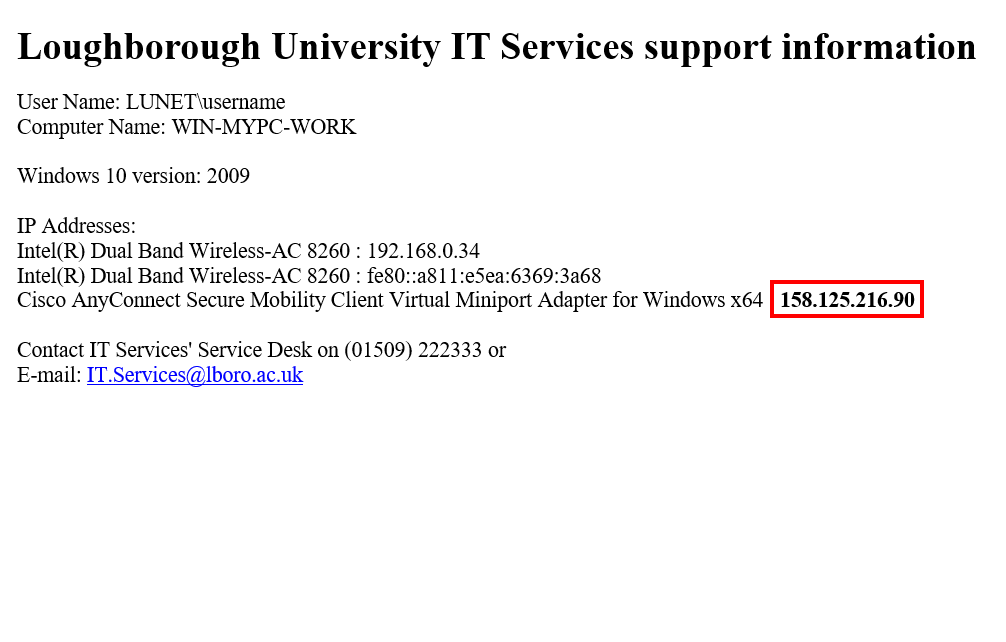
Step 1: Find computer name
To find out the name of the computer and IP Address, you will need to be logged in to the machine and do the following:
- From the start button, search for and select the “WhoAmI” app
- The computer name is the “computer name” and the IP address is the top of the list under “IP addresses” and will in the format of 131.231.x.x or 158.125.x.x
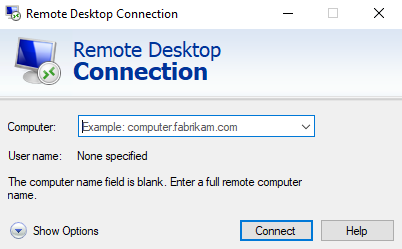
Step 2: Launch remote desktop
To launch the remote desktop client on Windows:
- In the Windows search bar located bottom left-hand side, type: remote desktop
- Select Remote desktop connection
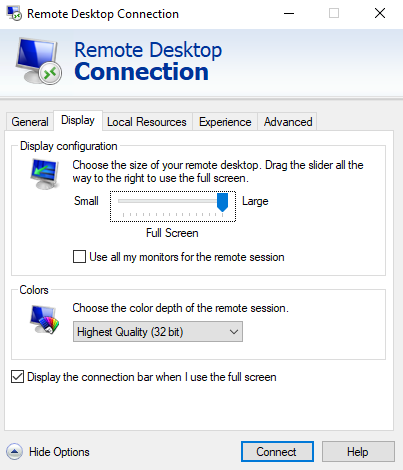
Step 3: Set display options
Before you connect, by default the connection will be displayed full screen. We recommend that you first:
- Click the Show Options
- Select the Display tab
- Use the Remote desktop size slider to reduce the size of the screen resolution
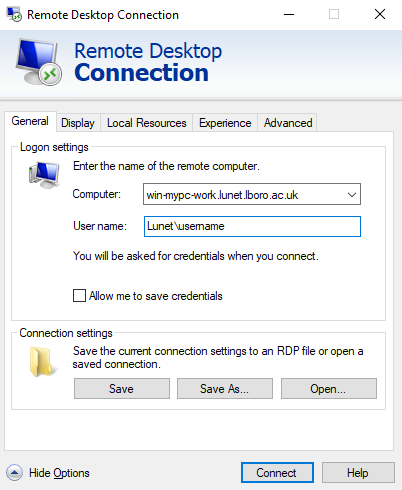
Step 4: Connect
In the Computer field:
- Add the *Full Computer name of your on-campus computer or IP address
- Click Connect
*example: win-mypc-work.lunet.lboro.ac.uk
Step 1: Find computer name
To find out the name of the computer and IP Address, you will need to be logged in to the machine and do the following:
- From the start button, search for and select the “WhoAmI” app
- The computer name is the “computer name” and the IP address is the top of the list under “IP addresses” and will in the format of 131.231.x.x or 158.125.x.x
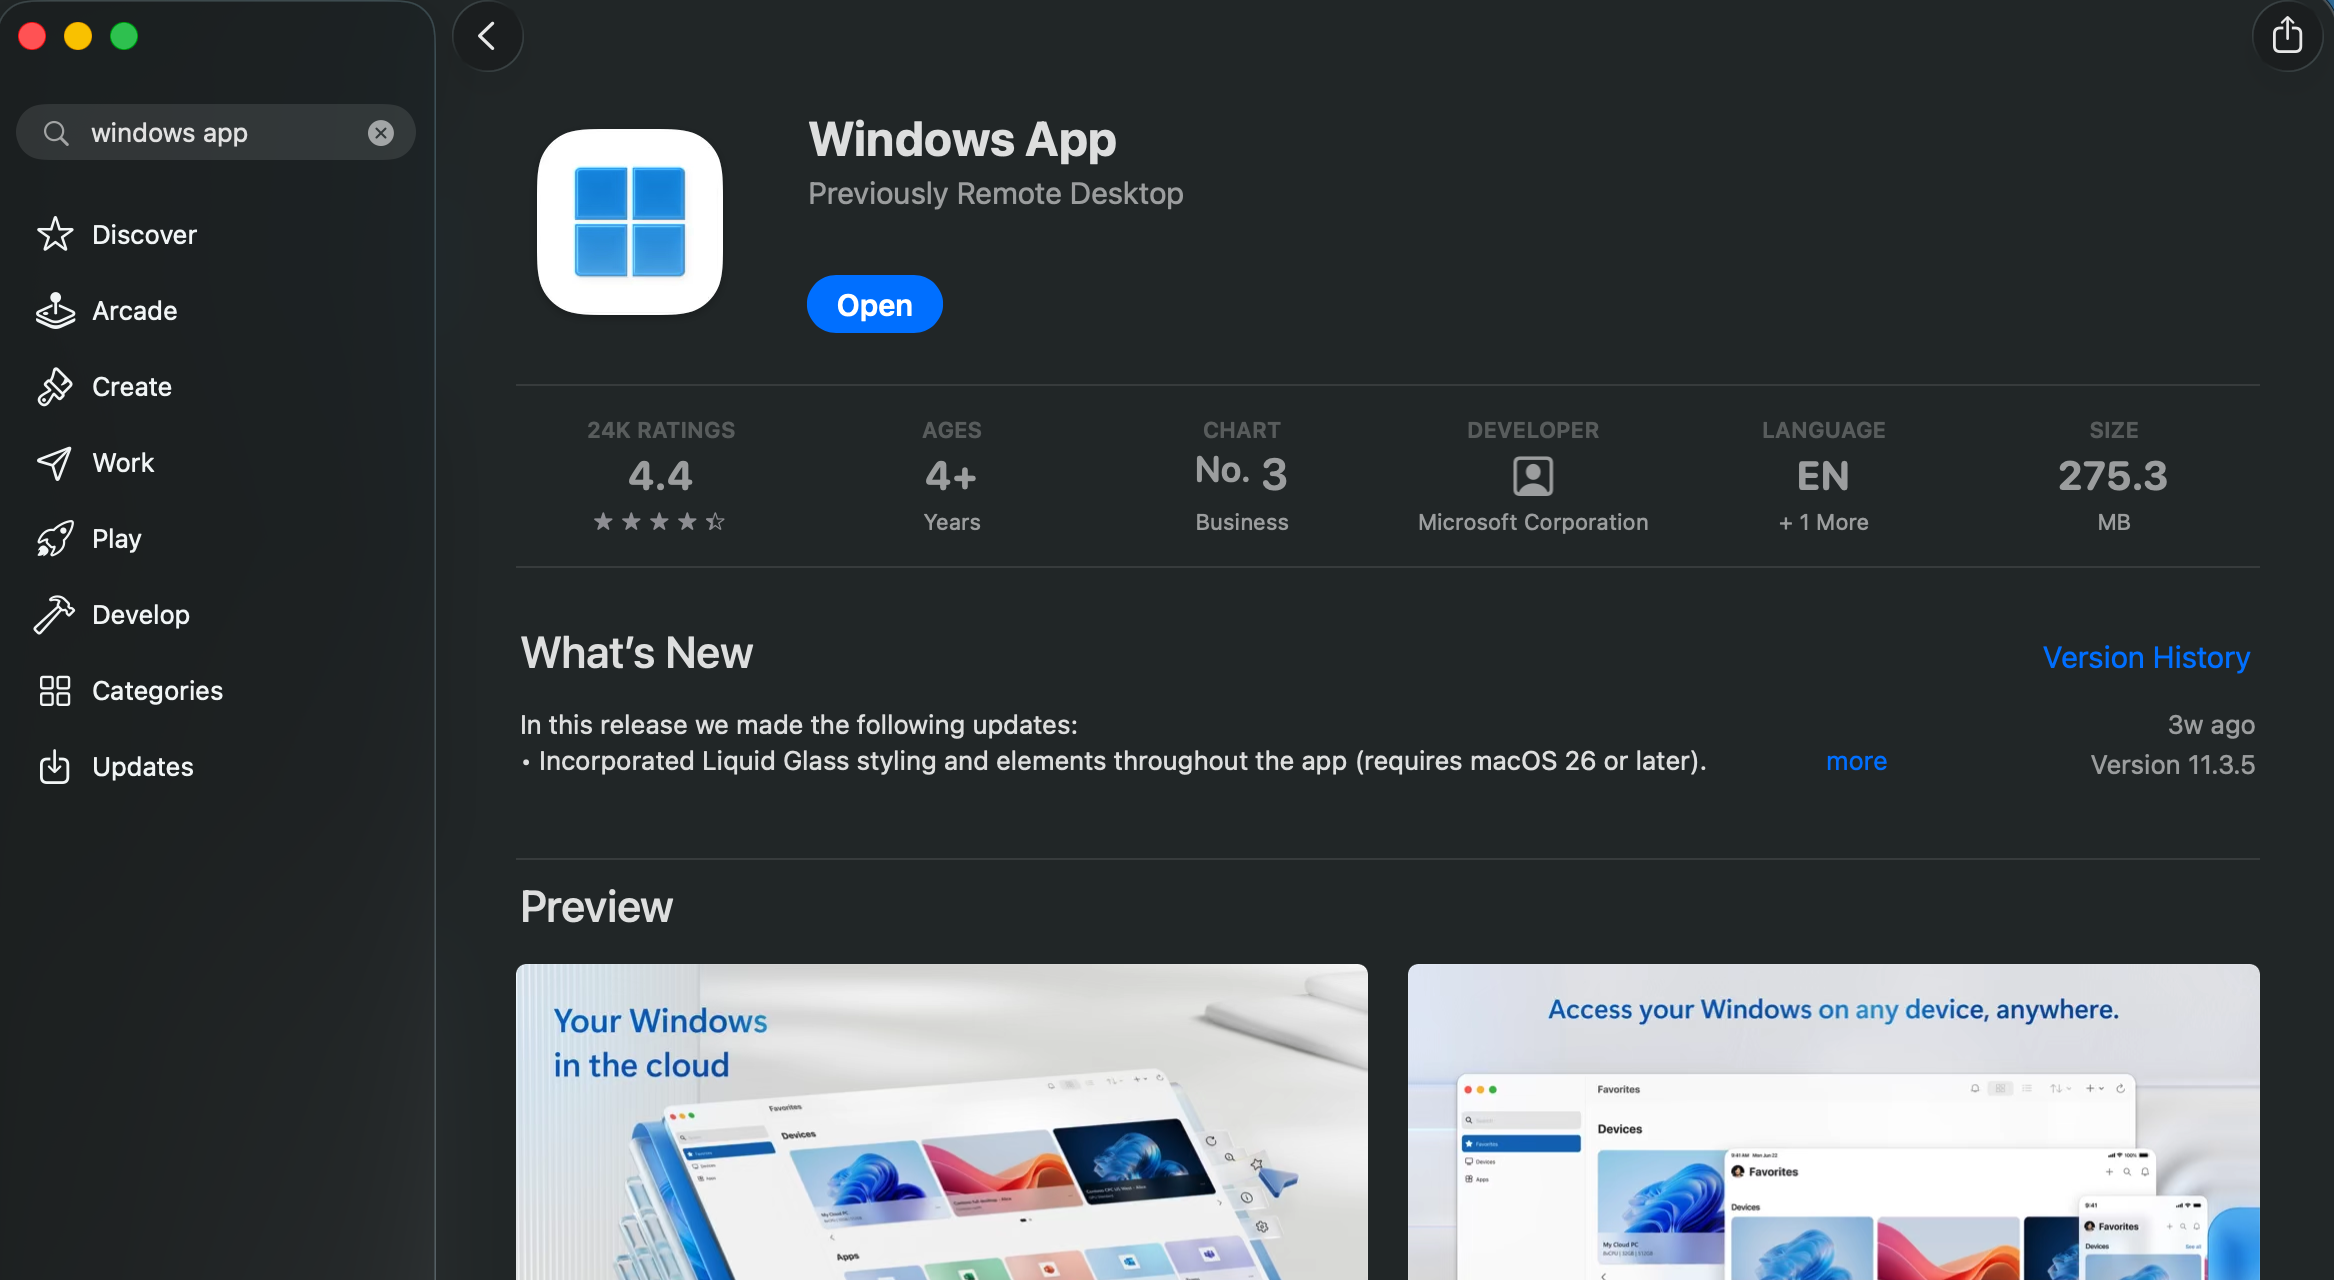
Step 2 - Install Windows App
To install the Windows App on your Mac:
- Open the Mac App Store
- Search for ‘Windows App’ and click Get to install
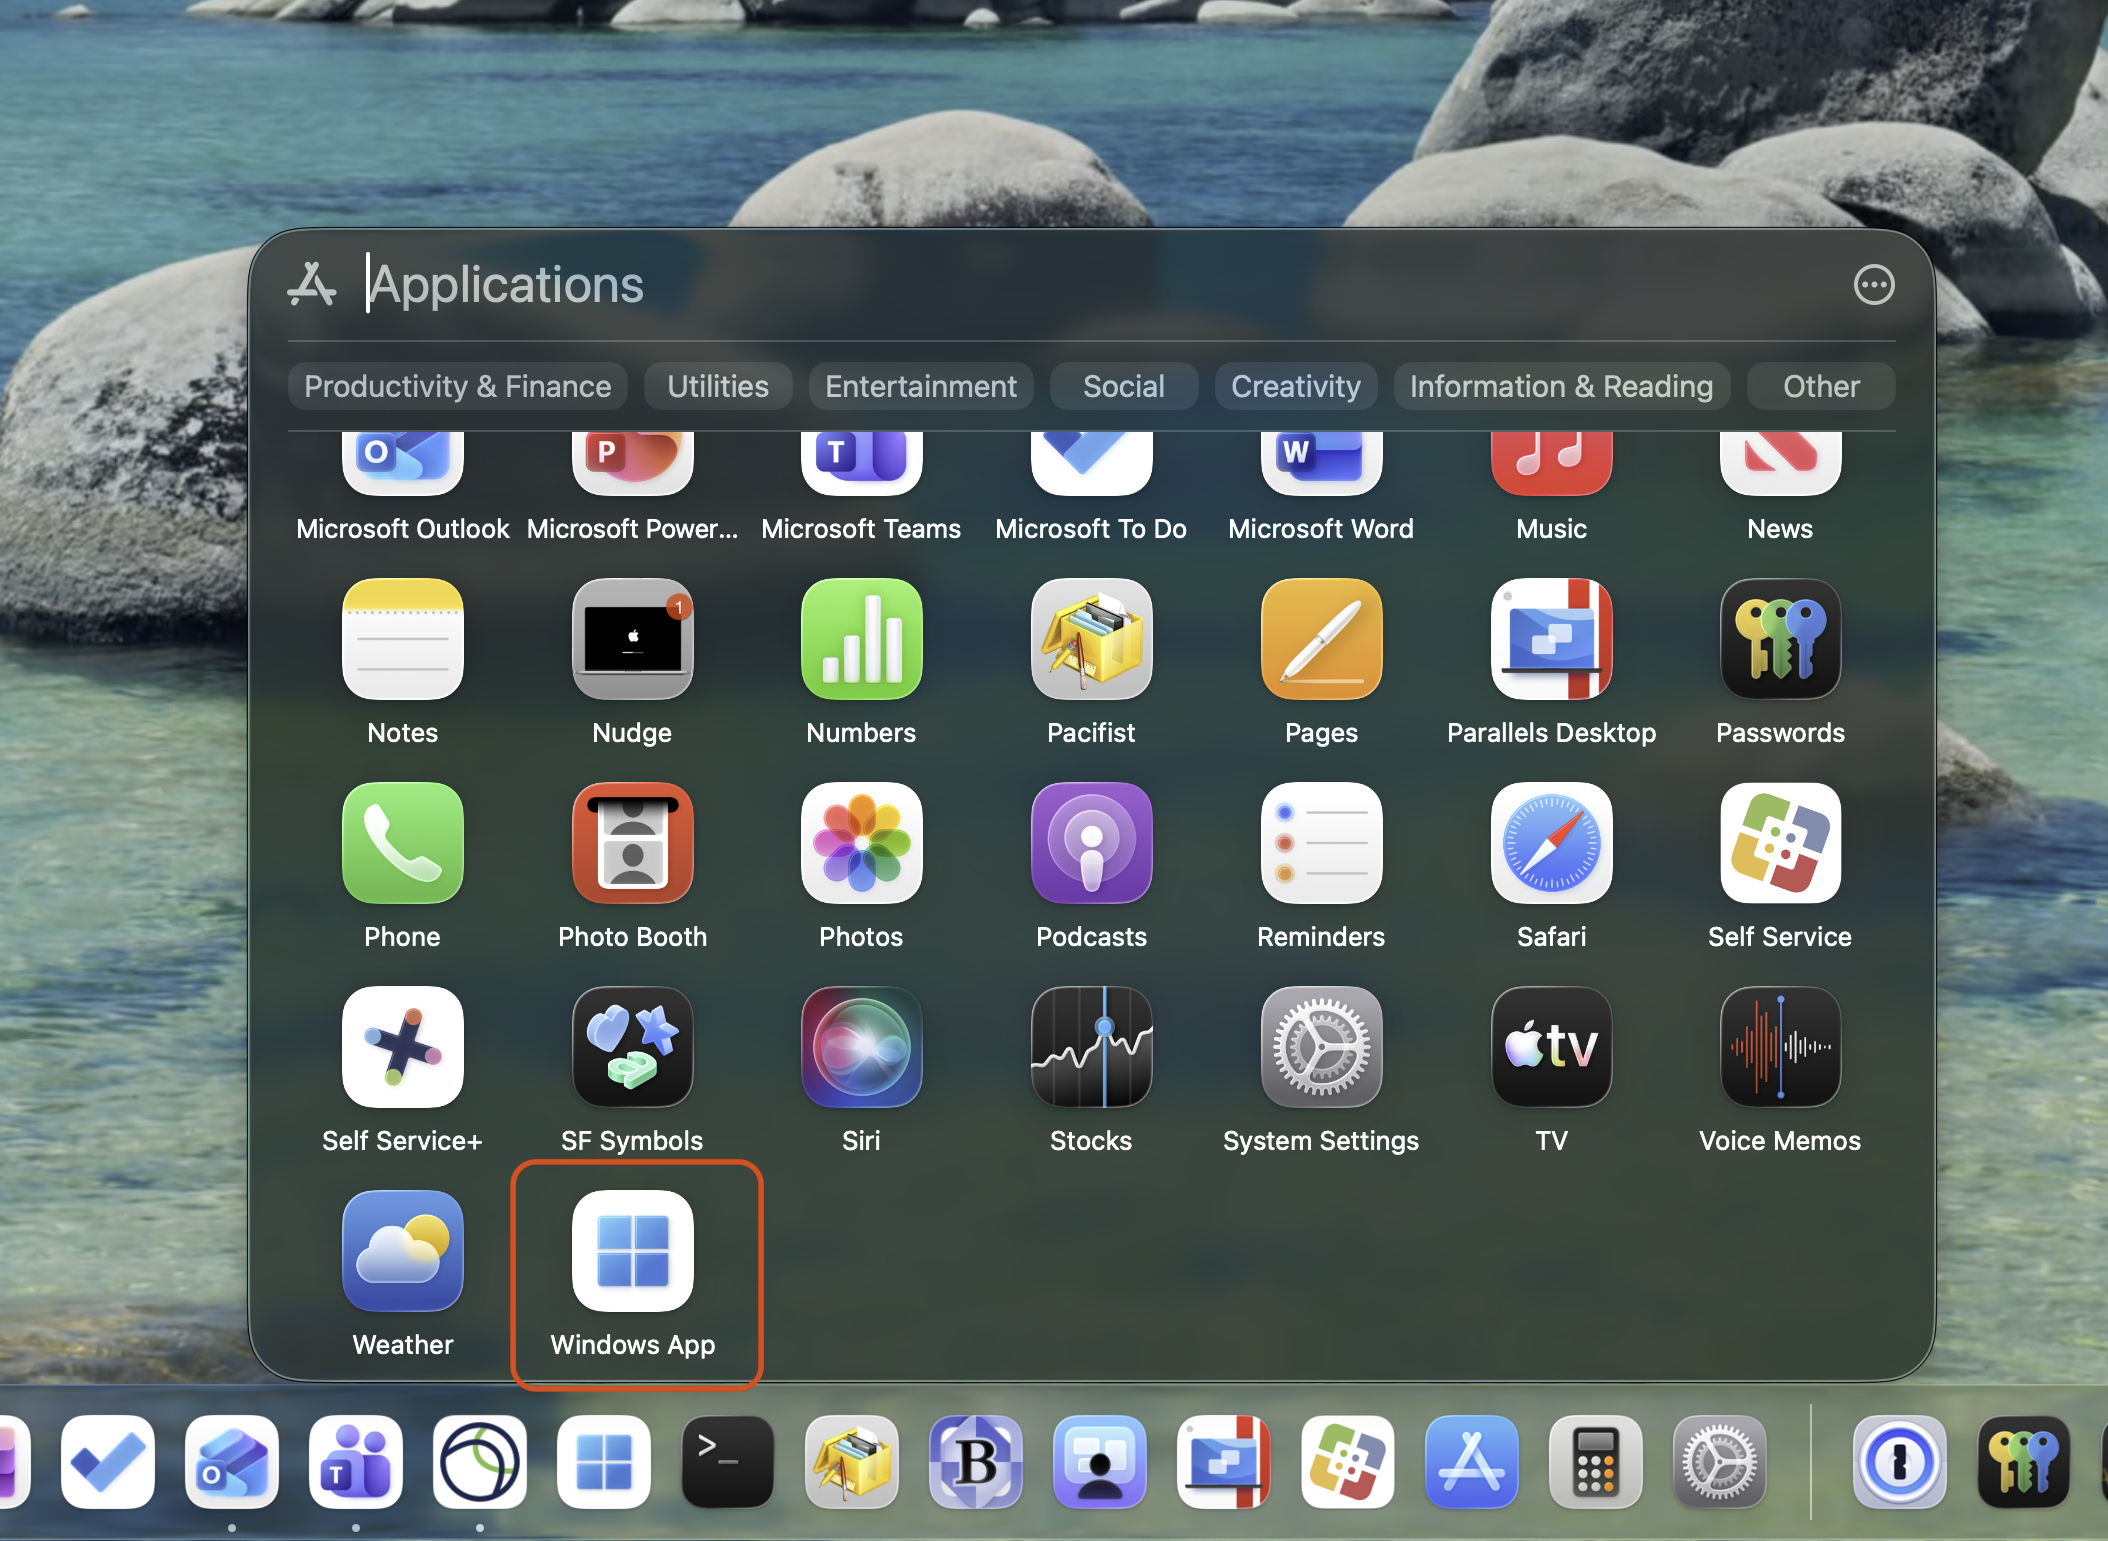
Step 3: Launch Windows App
To launch the Windows App on your Mac:
- Click the Apps launcher (or Launchpad on older macOS versions) in the dock
- Find Windows App in the list and click it to open
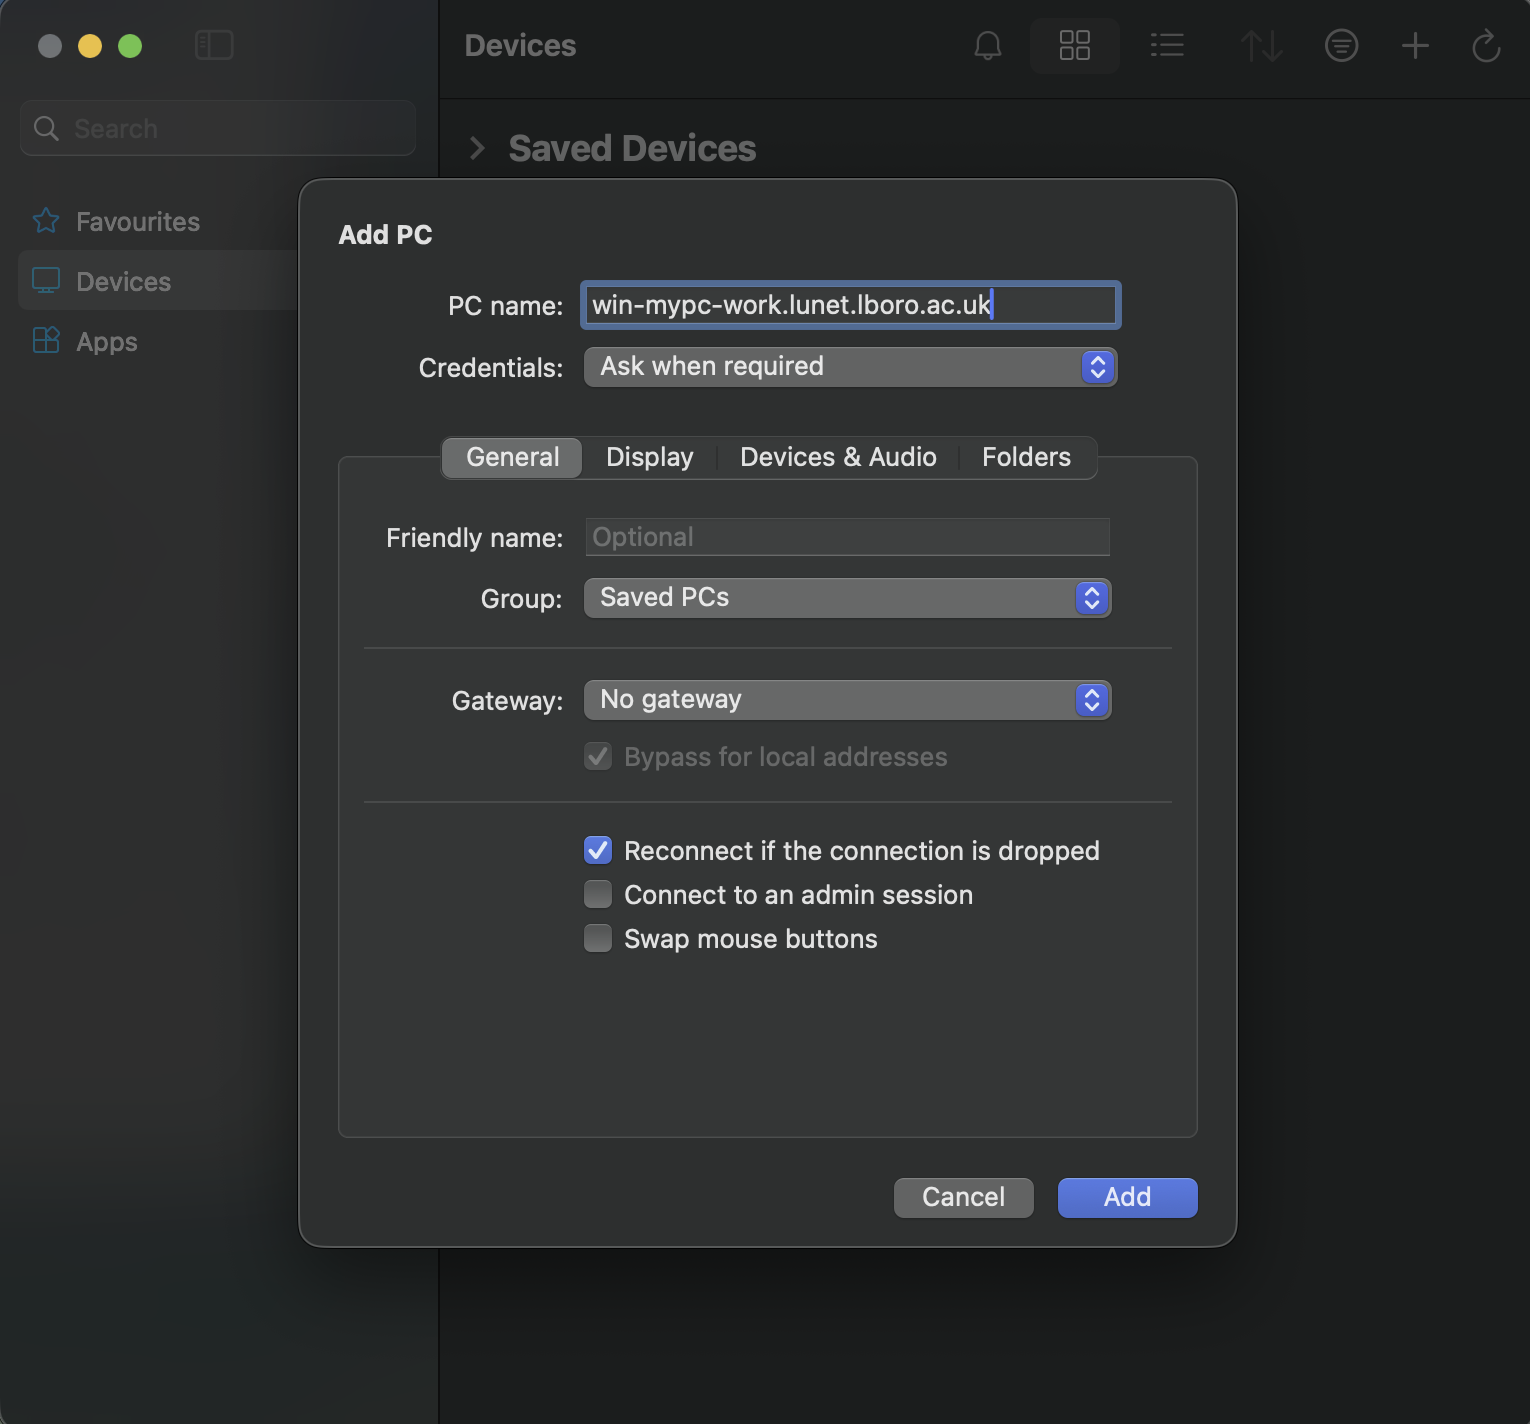
Step 4: Add a PC and connect
To add a new PC connection:
- Click the + icon and then Add PC
- Enter the *Full Computer name of your on-campus computer or IP address and click Add
- Double-click the PC Connection you’ve created to connect. Enter your username (lunet\username) and password when prompted
*example: win-mypc-work.lunet.lboro.ac.uk