Setting up OneDrive on a Windows device
With OneDrive, you can sync files between your computer and the cloud, so you can get to your files from your computer, your mobile device, and the web.
If you're using Windows 10 or above, your computer already has the OneDrive app installed. If you don't have Windows 10, Office 2016 or above, install the Windows version of the new OneDrive sync app, you access this using the button below:
Installing and setting up OneDrive
To set up your OneDrive on Windows 10 and above with your university account, follow the steps below:
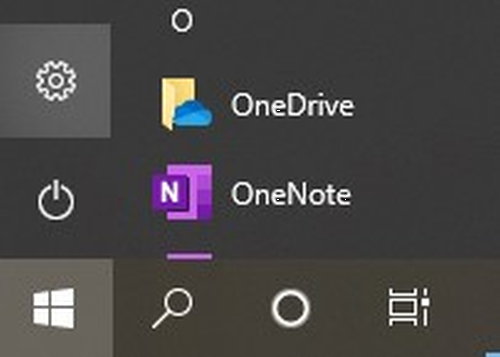
Open OneDrive
Click on the Windows Start button in the bottom left corner
- Search for OneDrive
- Click to open
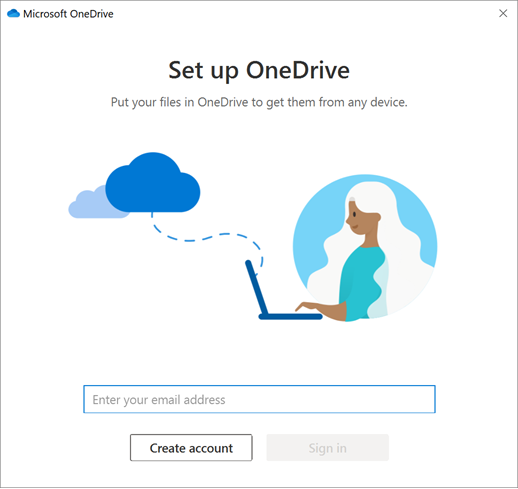
Sign in
When OneDrive Setup starts, enter your University email account, and select Sign in
OneDrive Setup
On the “This is your OneDrive folder” screen, select Next
- Accept the default folder location for your OneDrive files
- If you want to change the folder location, select Change location (this is the best time to make this change)
Note: If you were already syncing OneDrive to your computer, you won't see the This is your OneDrive folder or the Sync files from your OneDrive screen during OneDrive Setup. The sync app automatically takes over syncing in the same folder location you are already using. To choose which folders you're syncing, right-click the blue cloud icon in the taskbar notification area, and select Settings > Account > Choose folders.
If you already have a personal account signed in to OneDrive, and want to add your University account:
- Right click the OneDrive icon in the system tray
- Click on the cog in the top right and select Settings
- Open the accounts tab and select Add an Account
- Enter your University email address