Microsoft Bookings
What is Microsoft Bookings?
Microsoft Bookings is a versatile scheduling tool that can be used to manage appointment bookings.
Bookings has the flexibility and customisation options to fit a variety of scheduling needs and each calendar that is created with the Bookings app can be integrated with Outlook calendar to ensure that there are no clashes with existing staff appointments.
Key Features:
- Integrates with Outlook calendar
- Custom fields for appointments
- Generates iCAL files
Access to MS Bookings
Before you can create an MS Bookings calendar, there a few steps that need to be done
- Make sure that you have a Microsoft A3 license. You can check this by following the instructions below:
- Sign in to My account.
- Look for ‘Microsoft 365 A3 for ...'
- To ensure awareness around the implications of creating a calendar name and, having 2 administrators, you will need to do one of the following:
- Watch the recording that is available below recorded by the Technology Enhanced Learning Team
- Attend a TEL workshop on MS Bookings (see the Workshops and Drop-ins page for details of upcoming sessions)
- Request the ability to create a new Bookings calendar by emailing it.services@lboro.ac.uk
Bookings Calendar
A Bookings calendar can be created either via the Bookings web app or using the Bookings app within Microsoft Teams.
The steps below will go via the web app and the defaults will create a one-to-one calendar that is suitable for office hours (you can increase the number of attendees if required).
IMPORTANT: When you create the name of your calendar, an Outlook mailbox account of the same name is generated when creating a calendar, which could cause confusion amongst staff if it's similar to an existing account. For example, if you called the calendar "finance", an email address - finance@bookings.lboro.ac.uk - would be created which staff could send emails to by mistake.
How to create a Bookings Calendar
- Go to https://www.office.com/
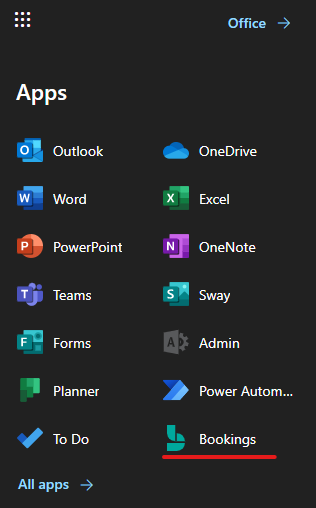
- Click on the Apps icon in the top left-hand corner and click on the "Bookings" app (if you do not see it in the main list, click on the "All Apps" link)
- Click on the "create new calendar" button
- If a suitable calendar doesn't already exist, click on the option to "create a new Bookings calendar" from scratch
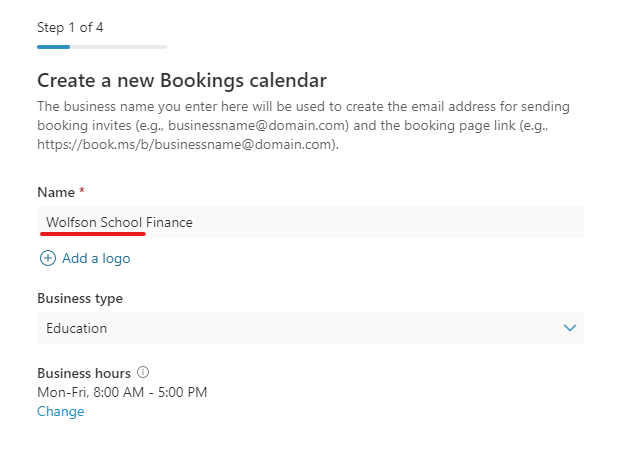
- Note: Give your calendar a name that is specific to the University context (e.g., use “Wolfson School Finance” rather than “Finance”) and set the Business type
- Note: Give your calendar a name that is specific to the University context (e.g., use “Wolfson School Finance” rather than “Finance”) and set the Business type
- Invite at least two Administrators to the calendar and any other staff that require access. The roles available are:
- Team member - can manage bookings on their own calendar and their availability in the booking mailbox
- Scheduler - can manage bookings on the calendar and customer details. They have read-only access to settings
- Viewer - can see all the bookings on the calendar with read-only access
- Guest - can be assigned to bookings
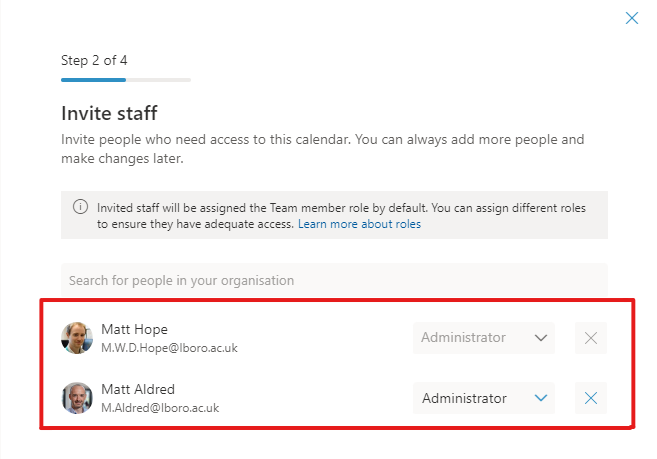
- Note: any staff members that you add to a calendar will need to accept the email invite before they show as available in the calendar.
- Edit the service /appointment type by clicking on "Change". This can be customised to suit any range of time
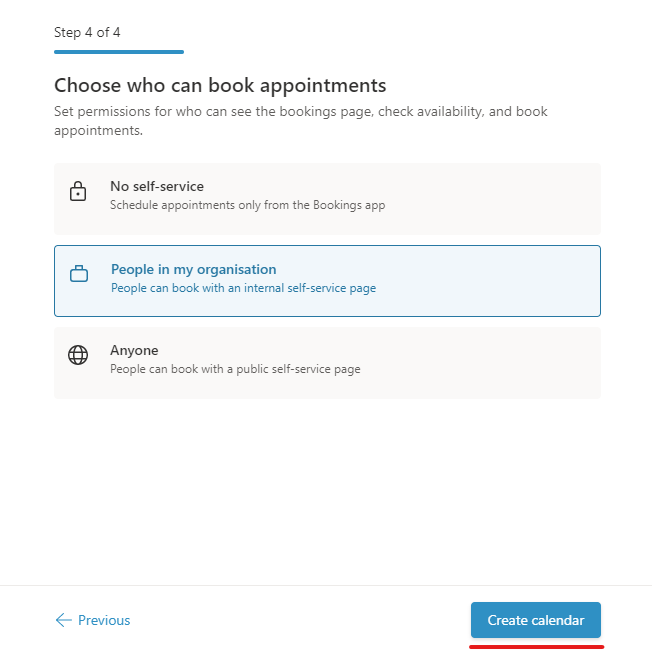
- Leave the "who can book appointments" setting on the default and click on "create calendar"
Setting up office hours
Staff can use the Bookings calendar to set up a service for office hours and can customise the bookings page to gather more information. Create a calendar and then follow the steps below.
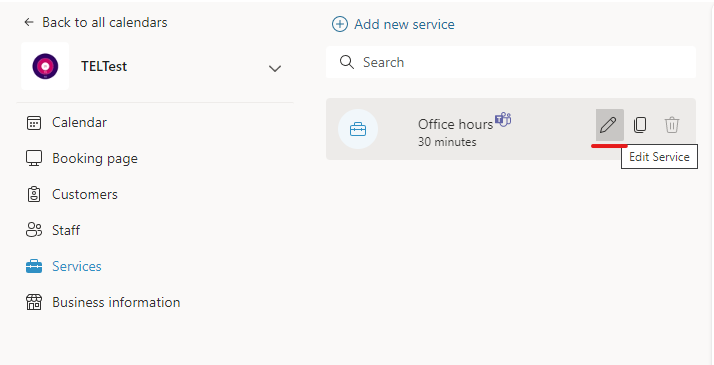
- Each calendar has a menu on the left-hand side of the page. From this menu, click on "Service" and then click on the pencil icon to edit the service.
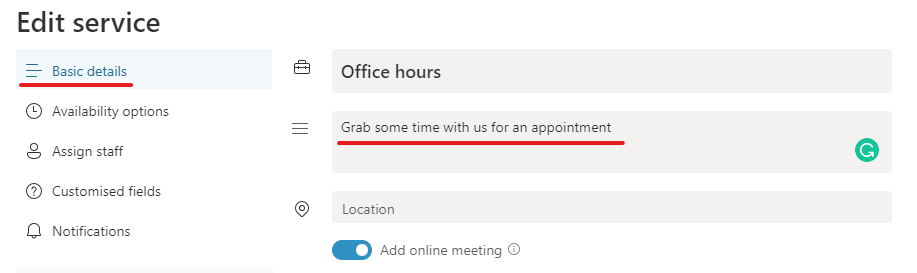
- Click on "Basic details" and amend the description as required
- You can also change the duration at this stage if needed
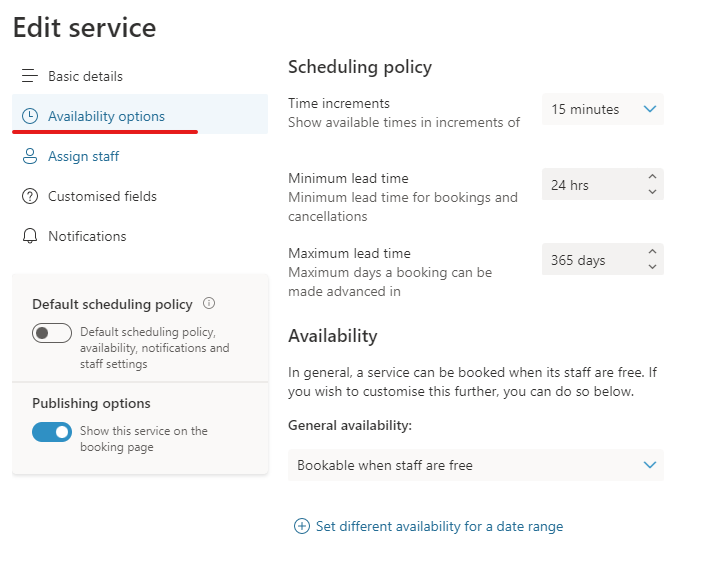
- Click on Availability options and set the minimum and maximum lead times
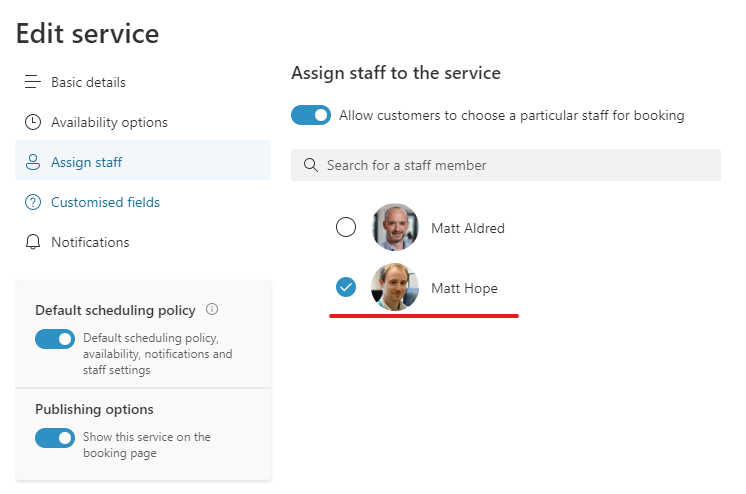
- Click on "Assign staff" and tick next to your profile if it is not already selected to ensure the calendar is picking up your existing meetings. A picture will appear next to the service to show you who is assigned.
- Note: A calendar with no staff assigned will still select available staff and assign them to slots which can lead to unexpected behaviour with the bookings. To ensure that the booking works as expected, we recommend always assigning at least one member or staff or using a shared inbox
- Note: A calendar with no staff assigned will still select available staff and assign them to slots which can lead to unexpected behaviour with the bookings. To ensure that the booking works as expected, we recommend always assigning at least one member or staff or using a shared inbox
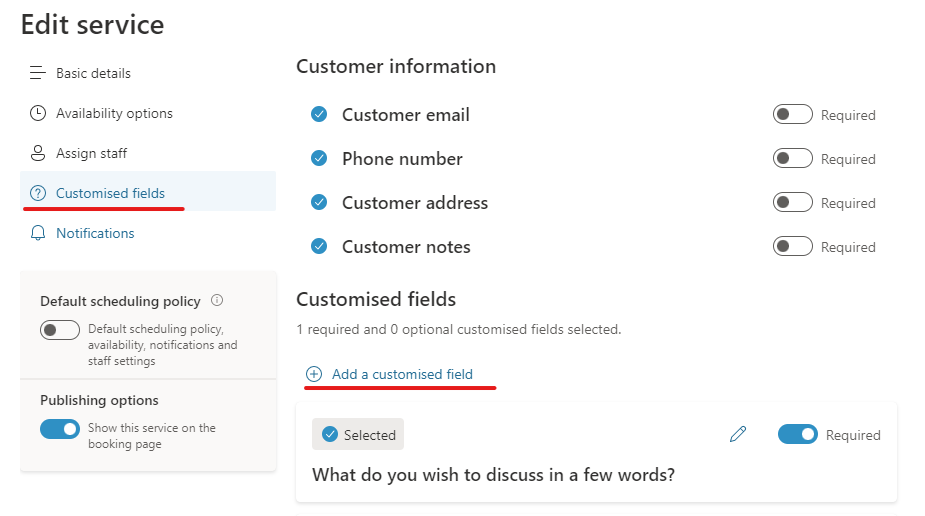
- Click on "customised fields" to set which information is required and to create new fields (text or drop-down selection are the two available question types). For example, you may wish to ask what the topic of the meeting is so you can prepare in advance
- Tick or untick options as required and choose whether they are "Required"
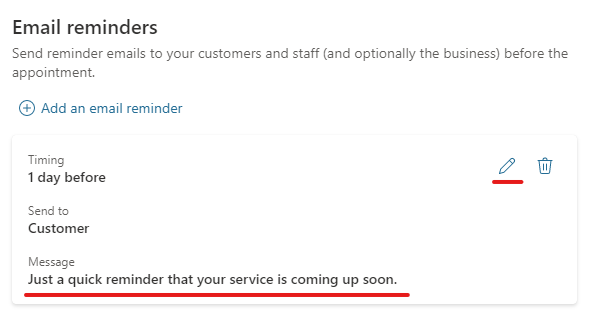
- Click on Notifications in the menu and adjust the reminder text notification.
Additional information
For more information and training around Microsoft Bookings and other services and applications, please see the recorded by the Technology Enhanced Learning Team pages: