I want to implement send delays in Microsoft Outlook
By implementing send delays, you can provide yourself more time to notice and fix errors and hopefully prevent personal data breaches before they occur. Using the method below, you can also create exceptions or only apply send delays in certain higher risk situations. Always consider whether email is the most appropriate form of communication before hitting send, sensitive personal information must be handled carefully in accordance with data protection legislation.
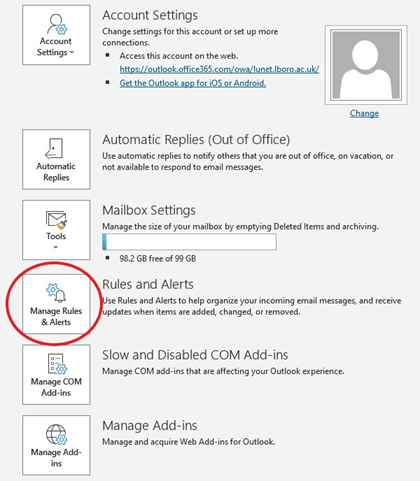
1. In Microsoft Outlook, select File and then select Manage Rules and Alerts (if a pop-up opens asking you to choose between Client and Server, select Server).
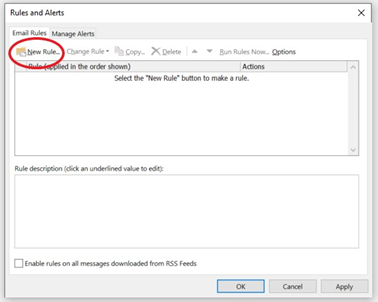
2. Select New Rule…
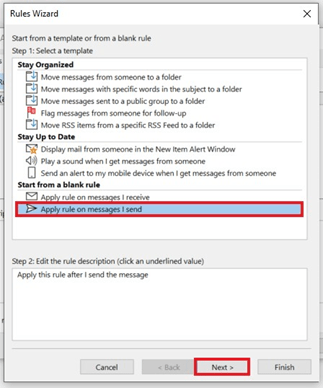
3. To implement send delays on outgoing emails select ‘Apply rule on messages I send’ and then select Next,
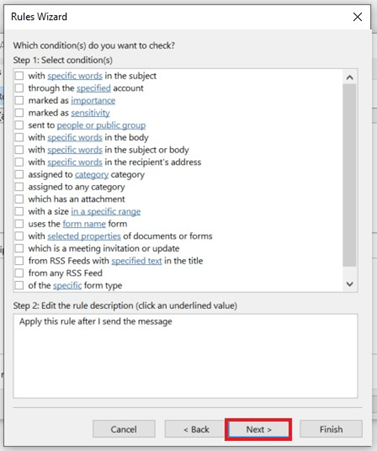
4. You can specify which situations you would like to implement a send delay on by selecting condition(s) or select Next to implement the delay on all outgoing emails,
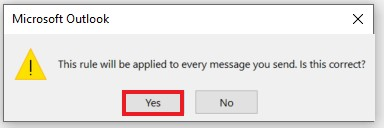
5. Select Yes,
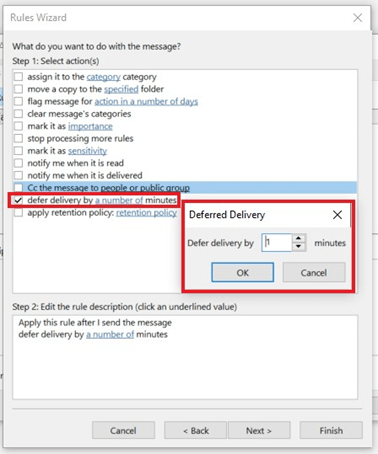
6. Select defer delivery by a number of minutes and in the pop-up box specify how many minutes you wish to delay delivery by (we recommend between 2-5 minutes), select OK and then select Next,
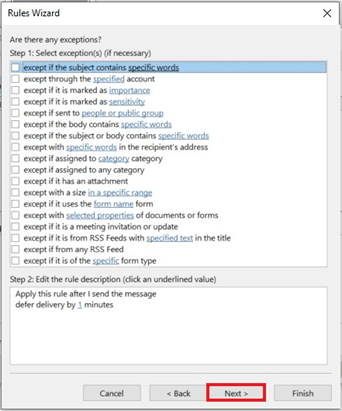
7. Apply any exceptions you require and select Next,
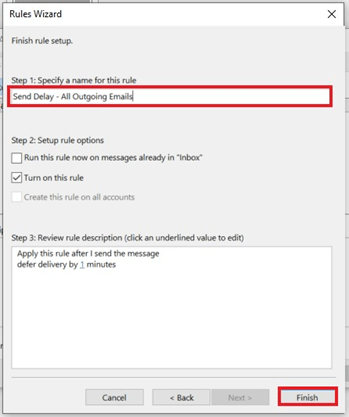
8. Finally, give this rule a name, we chose ‘Send Delay – All Outgoing Emails’, check the rule description and then select Finish.