About Additive Manufacturing
Binder Jetting
The binder jetting process uses two materials; a powder based material and a binder. The binder acts as an adhesive between powder layers. The binder is usually in liquid form and the build material in powder form. A print head moves horizontally along the x and y axes of the machine and deposits alternating layers of the build material and the binding material. After each layer, the object being printed is lowered on its build platform.
Due to the method of binding, the material characteristics are not always suitable for structural parts and despite the relative speed of printing, additional post processing (see below) can add significant time to the overall process.
As with other powder based manufacturing methods, the object being printed is self-supported within the powder bed and is removed from the unbound powder once completed. The technology is often referred to as 3DP technology and is copyrighted under this name.

Binder Jetting – Step by Step
- Powder material is spread over the build platform using a roller.
- The print head deposits the binder adhesive on top of the powder where required.
- The build platform is lowered by the model’s layer thickness.
- Another layer of powder is spread over the previous layer. The object is formed where the powder is bound to the liquid.
- Unbound powder remains in position surrounding the object.
- The process is repeated until the entire object has been made.
Technical Info
The binder jetting process allows for colour printing and uses metal, polymers and ceramic materials. The process is generally faster than others and can be further quickened by increasing the number of print head holes that deposit material. The two material approach allows for a large number of different binder-powder combinations and various mechanical properties of the final model to be achieved by changing the ratio and individual properties of the two materials. The process is therefore well suited for when the internal material structure needs to be of a specific quality.
Layers of build material, often in granular and powder form, are held together using the adhesive binder. The print head deposits the binding material in micro amounts and the powder material is used in creating the majority of the overall object mass. A heated build chamber can help to speed up the printing process by increasing the viscosity of the materials (Chua et al., 2010).
Post Processing: The overall process time is extended as it requires the binder to set and the part is often allowed to cool in the machine to fully solidify to achieve a high quality finish (Gibson et al., 2010). Post processing is often required to make the part stronger and give the binder-material better mechanical and structural properties (Gibson et al., 2010).
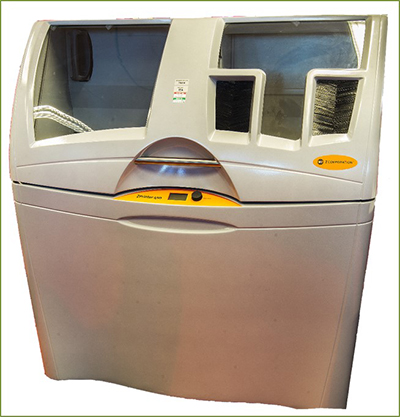
Machine Example:
|
Machine |
Layer Thickness |
Print Speed |
|
Spectrum Z 500 |
0.089 - 0.203 mm |
2 layers/minute |
Materials
Metals: Stainless steel
Polymers: ABS, PA, PC
Ceramics: Glass
All three types of materials can be used with the binder jetting process.
Pros / Cons
Advantages:
- Parts can be made with a range of different colours
- Uses a range of materials: metal, polymers and ceramics
- The process is generally faster than others
- The two material method allows for a large number of different binder-powder combinations and various mechanical properties
Disadvantages:
- Not always suitable for structural parts, due to the use of binder material
- Additional post processing can add significant time to the overall process